Network drives are shared folders or storage devices connected to a local area network (LAN), allowing multiple users to access and share files. Mapping a network involves assigning a drive letter to the network location, making it easily accessible from your computer. In this article, we’ll explore the benefits, preparation, and step-by-step guides for mapping a network on Windows and Mac.
Mapping A Network Drive: A Step-by-Step Guide
Understanding Of Mapping A Network
It is a shared folder or directory on a networked computer or server. It can be accessed by multiple users within the network, providing a centralized location for storing and sharing files. By mapping a network , you create a shortcut to the shared folder, making it easily accessible from your computer.
Benefits Of Mapping A Network
Mapping a network offers several benefits:
- Easy access: Once mapped, the drive is readily accessible from your computer, eliminating the need to navigate through multiple folders or remember complex network paths.
- Improved collaboration: By mapping a drive, you can easily share and collaborate on files with colleagues or team members. Changes made to files on the network are instantly visible to others.
- Centralized storage: It provides a centralized location for storing files, making it easier to organize and manage shared resources.
- Offline access: Some drives support offline access, allowing you to work on files even when you are not connected to the network. Any changes made will be synchronized with the network once you reconnect.
Preparation: Gathering Information And Permissions
Before mapping a network , ensure you have:
- The network path or IP address of the drive
- The necessary permissions and access rights
- The drive letter you want to assign (if available)
Method 1: Mapping A Network Drive On Windows
Follow these steps to map a network on Windows:
Browse the File Explorer and access the Network folder
- Press the Windows key + E to open File Explorer
- Navigate to the Network location in the left sidebar
Choose The Drive Letter And Enter The Network Path
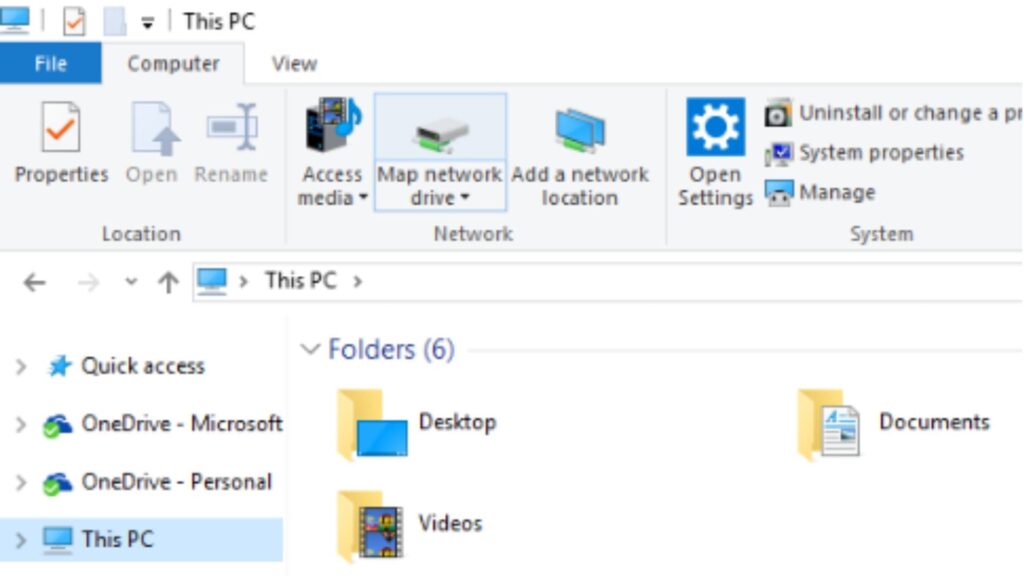
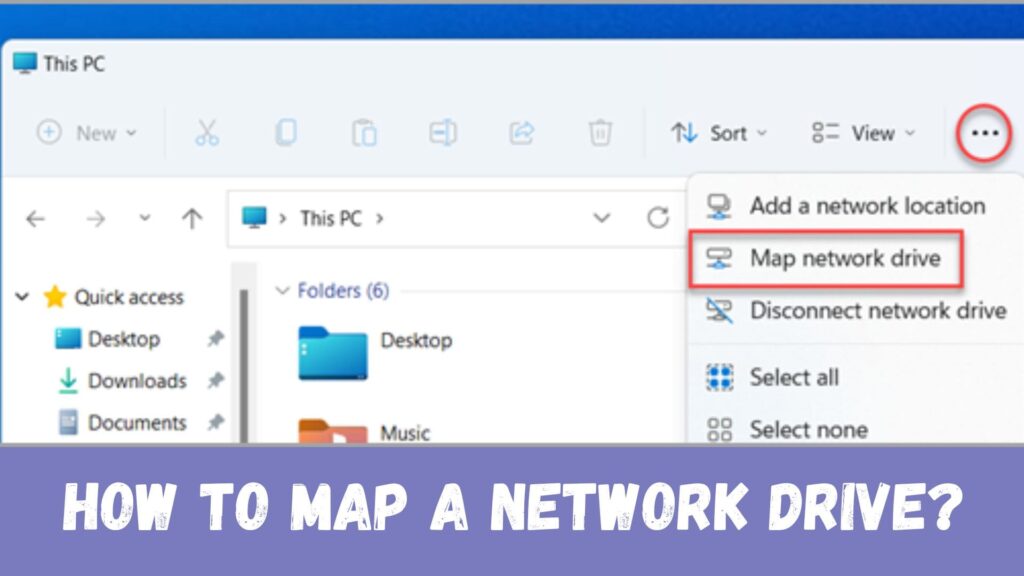
- Right-click on the Network location and select “Map network drive”
- Select the drive letter you want to assign (if available)
- Enter the network path or IP address
Authenticate And Connect To The Network Drive
- Enter your username and password (if prompted)
- Click “OK” to connect

Method 2: Mapping A Network Drive On Mac
Follow these steps to map a network on Mac:
Open the File Explorer and access the Network folder
- Click on the Finder icon in the Dock
- Navigate to the Network location in the left sidebar
Select The Drive Letter And Enter The Network Path
- Right-click on the Network location and select “Map network drive”
- Select the drive letter you want to assign (if available)
- Enter the network path or IP address
Authentication And Connection
- Enter your username and password (if prompted)
- Click “OK” to connect to the network drive
Troubleshooting Common Issues
- Ensure the network is available and accessible
- Check permissions and access rights
- Verify the drive letter is not already in use
Security Considerations: Protecting Your Network
- Set strong passwords and authentication
- Use encryption and secure connections
- Limit access and permissions
Best Practices: Organizing And Managing Network Drives
- Use clear and descriptive names for drives
- Organize drives by department or category
- Regularly back up and update drives
Examples
This heading refers to the various scenarios where network mapping can be applied, including:
Home
- Mapping a network to access files and folders on a home network
- Sharing files and folders between family members or roommates
- Accessing media files on a network-attached storage (NAS) device
Office
- Mapping a network to access company files and folders on a server
- Sharing files and folders between colleagues and departments
- Accessing centralized resources and applications
Cloud
- Mapping a network to access cloud storage services like Google Drive, Dropbox, or OneDrive
- Syncing files and folders across multiple devices and locations
- Collaborating with team members and clients on cloud-based projects
In each of these scenarios, network mapping provides a convenient and efficient way to access and share files and folders, enhancing productivity and collaboration.
For example, in a home scenario, mapping a network allows family members to access shared files and folders on a central storage device, making it easy to share photos, documents, and other files.
In an office scenario, mapping a network provides employees with access to company files and folders on a server, facilitating collaboration and productivity.
In a cloud scenario, mapping a network enables users to access cloud storage services and sync files and folders across multiple devices and locations, making it easy to work on the go and collaborate with others.
FAQs
It is the process of assigning a drive letter to a network location, making it easily accessible from your computer.
You need to map a drive to access shared files and folders on a network, collaborate with others, and simplify file sharing and management.
To map a drive on Windows, open File Explorer, navigate to the Network location, right-click and select “Map network drive”, and follow the prompts.
Yes, you can map a network on Mac by opening the Finder, navigating to the Network location, right-clicking and selecting “Map network drive”, and following the prompts.
Mapping a network enhances collaboration, simplifies file sharing and management, increases productivity, and provides easy access to shared files and folders.
Conclusion
Mapping a network drive is a useful skill that allows you to access shared resources on a network with ease. By following the step-by-step guide provided in this article, you can quickly map a network and enjoy the benefits of centralized storage, improved collaboration, and easy access to shared files and folders. If you encounter any issues, refer to the troubleshooting tips or seek assistance from your network administrator.


